Let’s talk about hiking fit—the difference between a day you want to repeat and a day you want to forget. I’ve tested boots, packs, and layers from Half Moon Bay fog to Sierra granite, and I can tell you: gear that fits right disappears into the experience. Gear that doesn’t? It’s all you think about. Here’s what I’ve learned about getting the hiking fit right for every piece of your kit.
Boots: The Foundation of Hiking Fit
Your boots carry you for miles, so hiking fit starts here. When I test boots, I wear the socks I’ll actually hike in—usually a thin liner plus a medium-weight wool blend. In the store, I leave a thumb’s width between my longest toe and the boot’s end. That gap prevents black toenails on descents. Heel lift? A little is okay, but more than a quarter-inch means blisters. I’ve had to swap insoles in a pair of Merrell Moabs because my arch was slipping—after 20 miles, that tiny movement became a hot spot. Lace snug, not tight. Your toes should be able to wiggle. If they can’t, size up or try a wide version.

The Perfect Hiking Fit for Your Backpack
A pack that shifts or digs into your shoulders ruins any hike. Start by loosening all straps, put the pack on, and tighten the hip belt so it sits on your hip bones—not your waist. The hip belt should carry 80-90% of the weight. Your shoulder straps should just rest on your shoulders, not bear down. Then adjust the load-lifter straps (the ones that pull the pack toward your body) so the pack sits close to your back without pulling your shoulders back. Finally, the sternum strap should sit across your chest, not your collarbone. I once hiked with a borrowed Osprey that was too long for my torso—every step felt like the pack was trying to roll off. A proper hiking fit for your pack means you should be able to shake your shoulders slightly without the pack moving. If it shifts, your adjustments are off.
Layering: How Clothing Fit Affects Comfort
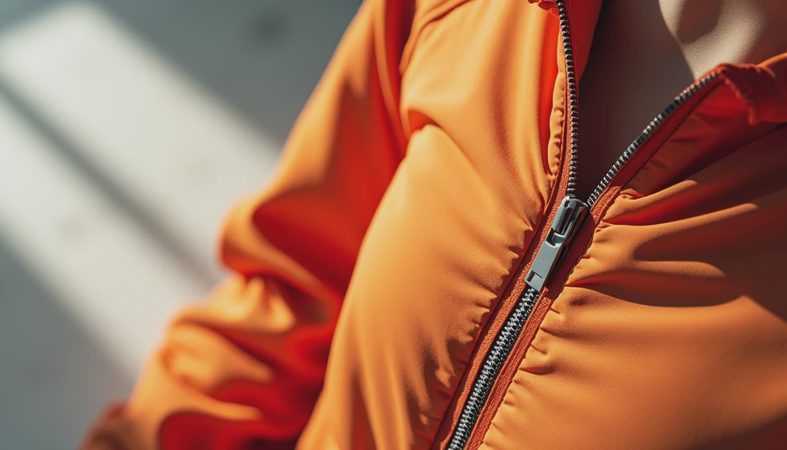
Layering is all about air and motion. Your base layer should be snug but not compressive—think long underwear that moves with you, not a second skin. My go-to is a merino top from Icebreaker; it wicks sweat and doesn’t feel clammy. Mid layers (fleece, puffy) need room for the base layer underneath and a shell on top. If you can’t raise your arms overhead without the mid layer riding up, it’s too short. Outer shells should be roomy enough for all layers plus a light stretch when you reach for a hold. In foggy coastal hikes, I’ve seen people in rain jackets that were too tight—they ended up sweat-soaked inside. Fit matters: a shell that’s too loose will flap and catch wind; too tight and you lose mobility and insulation.
Pants and Shorts: Balancing Mobility and Protection
Pants are where hiking fit gets personal. I prefer a relaxed, articulated cut that lets me step over logs and scramble without pulling at the crotch. Look for a gusseted crotch on trail pants—it’s a deal breaker for me. The waist should be snug enough that a loaded pack doesn’t drag them down, but not so tight you can’t bend. I own several pairs of Prana Stretch Zions, and even after years of wear, the hiking fit holds up. Shorts? I recommend a 7-9 inch inseam for coverage without chafing. If you wear shorts, test the rise: too low and your pack belt rubs. Too high and you look like you’re going to a gym. My rule: squat in the store—if you feel restricted, move on.

When Hiking Fit Goes Wrong: What to Watch For
It’s easy to ignore small discomforts until they become blisters, hot spots, or hip bruises. Signs of poor hiking fit: hot toes (boots too tight), numbness in your fingers (pack straps compressing nerves), or a rash on your lower back (pack rubbing). After a 12-mile day in the Sierras, I once had a black thumbnail from boots that were a half-size too small—lesson learned. Check your gear after every trip. If something leaves a red mark that persists after 10 minutes of removal, the fit is off. Don’t assume it’ll break in. Modern gear materials don’t stretch much. If it’s uncomfortable in the store, it’ll be torture on mile 8.
Testing Your Hiking Fit at Home
Before you hit the trail, simulate conditions. Fill your pack with weight (I use water bottles and rice bags) and walk around the block—uphill if possible. Load the pack to your typical carry weight (say, 20 pounds for a day hike, 35 for an overnight). See how the hiking fit feels after 20 minutes of walking. If you can, wear your boots with the same socks you plan to use and hike up the stairs a few times. This quick test reveals problems you won’t catch in a store: heel slip under load, toe jam on descents, or a pack that wants to slide when you lean forward. A solid hiking fit test at home saves you from a ruined weekend.
Final Thoughts: Make Fit a Priority
Gear specs are promises, but wear is the truth. I’ve returned $300 jackets and traded packs because the fit was wrong. Building your kit around hiking fit—not brand, not style, not discount—has saved me from blisters, chafing, and bad days on the trail. Whether you’re a weekend warrior or a thru-hiker, take the time to dial in your fit. Your body will thank you at the end of a long, beautiful day in the mountains.


No comments yet — be the first to share a thought.