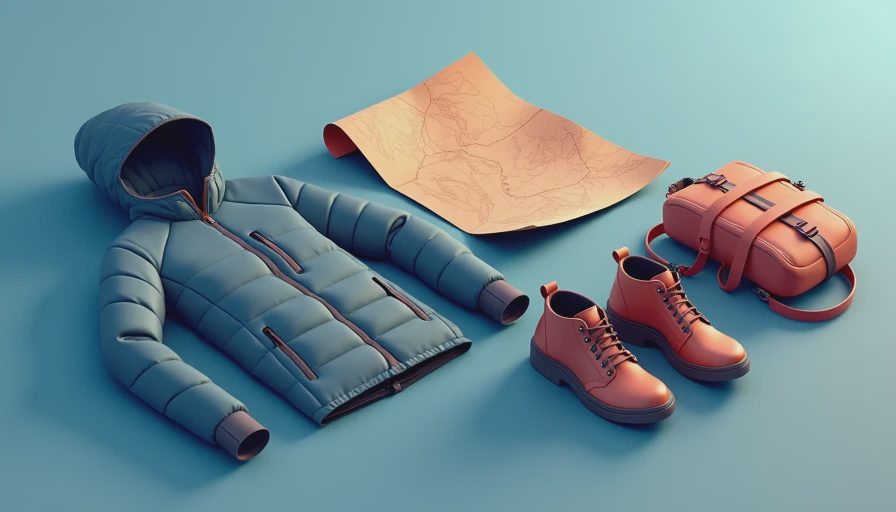
A good **spring hiking layer** system matters more than almost any single piece of gear I own. Spring is when the trail lies to you. The parking lot feels warm, the ridge is cold, the fog rolls in off the coast, and ten minutes later you are peeling off a jacket on a sunny climb. Around Half Moon Bay, I get all of that in one morning: damp air, wind, salt, light mist, and enough sun to make the wrong top feel swampy fast. Rain, salt, and real mileage included.
Start with a base layer that can handle sweat
If your first layer is wrong, the rest of the system never really recovers. For a spring hiking layer setup, I want a base that dries fast, does not cling the second I start sweating, and still feels decent if I keep it on for lunch or a post-hike stop. Most of the time that means a light synthetic long sleeve or a thin merino blend tee.
On cool coastal trails in the upper 40s to low 60s, I usually grab a lightweight Patagonia Capilene-style top or a merino blend from Smartwool or REI Co-op. Pure merino feels great for odor control, but I have had lightweight merino develop tiny holes sooner than I wanted, especially under a pack. Specs are promises. Wear is the truth. A synthetic or synthetic-wool blend usually wins for durability and faster drying.
Skip heavy thermal tops unless you are headed higher, starting before sunrise, or expecting real cold. For most spring hiking, a breathable base should feel slightly cool at the trailhead. If it feels perfect standing still, you will probably overheat on the first climb.
Add a light midlayer, not a bulky one
The most useful spring piece in my closet is not a giant fleece. It is a light midlayer I can hike in. Think grid fleece, a thin quarter-zip, or a breathable active insulation piece if you run cold. My usual test is simple: can I wear it for an hour uphill without turning into a damp sponge?
For a practical spring hiking layer, I like a lightweight fleece in the $60 to $140 range more than a heavier jacket that lives in the pack. Patagonia R1-type grid fleeces, Mountain Hardwear airmesh-style tops, and budget options from Decathlon all make sense here. Expensive is not automatically better. Sometimes the fancy piece buys you a nicer zipper and less bulk. Sometimes it just buys branding.
What failed first for me with cheap midlayers? Usually the cuffs and the stink factor. What failed with some premium ones? Pilling under pack straps and oddly fragile face fabric. Would I buy it again matters more than the hangtag story.
A good midlayer should disappear when you move. If you are constantly taking it off and putting it back on every fifteen minutes, it is probably too warm or not breathable enough.
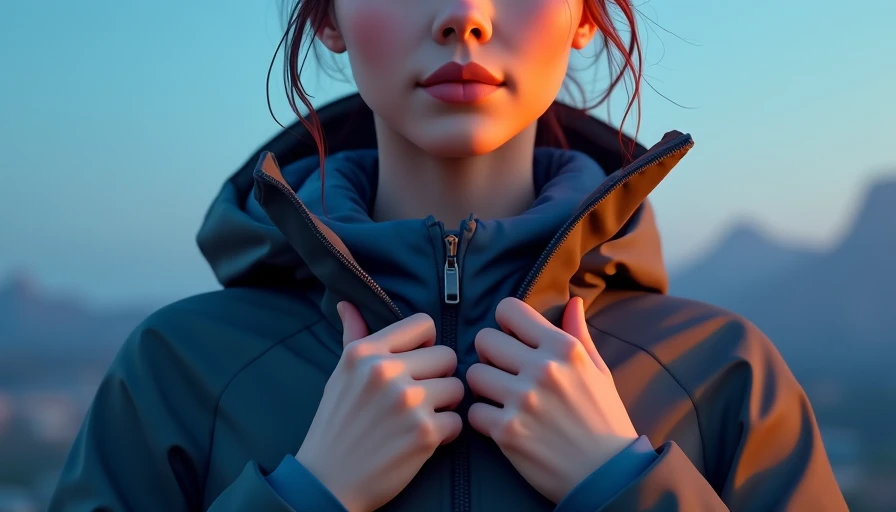
Your shell should block wind first and rain second
This is where people often overbuy. A lot of spring hikes do not require a heavy waterproof shell unless the forecast is clearly wet all day. For many mild, mixed-condition outings, the smarter spring hiking layer is a light wind shell or soft shell that cuts gusts but vents well.
On bluff trails above the Pacific, wind is usually the real problem. A 3-ounce to 8-ounce shell can make a thin base layer feel twice as useful. I have worn simple wind jackets from Patagonia, Black Diamond, and Outdoor Research that earned their keep more often than bulkier rain shells. They pack small, come out fast, and do not trap heat as badly.
If steady rain is likely, then yes, bring a waterproof shell with pit zips if possible. Just be honest about the conditions. A crinkly rain jacket on a dry but breezy spring day often leaves you wetter from sweat than mist ever would. Trail first, town second — but both matter. I want a shell that works on the trail and does not make me feel like I am wearing a trash bag on the walk back into town.
Match the layer system to the trail, not the season label
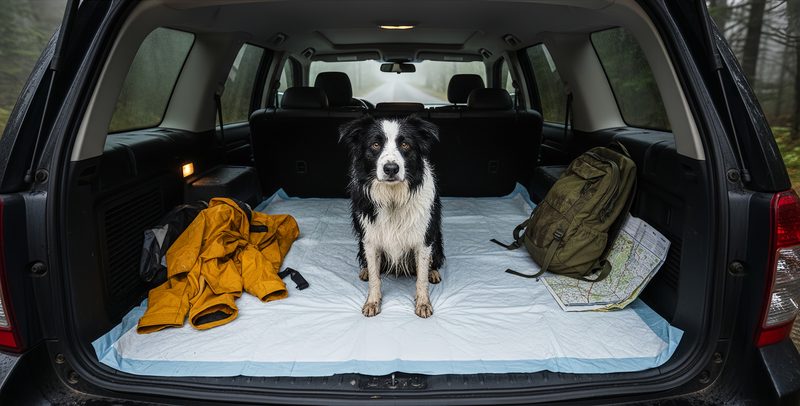
Spring means something very different on a redwood trail, a Sierra shoulder-season climb, or a flat dog walk through marine fog. That is why I build a spring hiking layer around effort level, exposure, and stop time.
For a low-elevation coastal hike, I usually wear a breathable tee or long sleeve, carry a light fleece, and stash a wind shell in the pack. For a steeper inland trail with more sun, I might swap the long sleeve for a tee and keep a sun hoodie handy. For higher elevation trips with cold starts and snow patches, I add a warmer fleece and a real waterproof shell.
The mistake is dressing for the word spring instead of the actual day. A shaded canyon at 9 a.m. can feel like winter. An exposed fire road at noon can feel like early summer. If you stop often for photos, snacks, or a slow group pace, bring one more warm piece than you think you need. If you move fast, cut one.
That is also where budget matters. A $300 jacket will not fix a bad layering plan. A smart three-piece setup often beats a closet full of specialized gear.
My simple spring kit, plus what I would skip
If a friend asked me for one straightforward spring hiking layer setup, I would say this: start with a light synthetic or merino-blend top, add a breathable fleece or grid layer, and carry a wind shell. Put a compact rain shell in the pack only if the forecast looks truly wet or the route is exposed and long.
For bottoms, I lean toward light hiking pants or stretchy trail tights depending on brush, wind, and temperature. I almost never start in shorts on cold coastal mornings, even if I know I will be warm later. Damp wind on bare legs gets old fast.
What would I skip? Thick cotton hoodies, heavy insulated jackets for mild spring days, and bargain-bin rain shells that wet out quickly and breathe like plastic wrap. I would also skip building your whole system around one expensive hero piece. Better to have three honest layers that each do a clear job.
My field-note rule is boring but effective: if I wore it for 8 to 12 miles, forgot about it, and did not rush to strip it off at every climb, it passed. That is the spring hiking layer test I trust most.
No comments yet — be the first to share a thought.